01
Identify the system
Determine the existing membrane or built-up assembly as far as practical before choosing repair materials.
Low-slope roof repair decisions based on drainage and compatibility
Compare low-slope roof repair proposals with questions about drainage, seams, penetrations, membrane compatibility, and concealed conditions.
Owners and managers of homes and buildings with low-slope roof areas
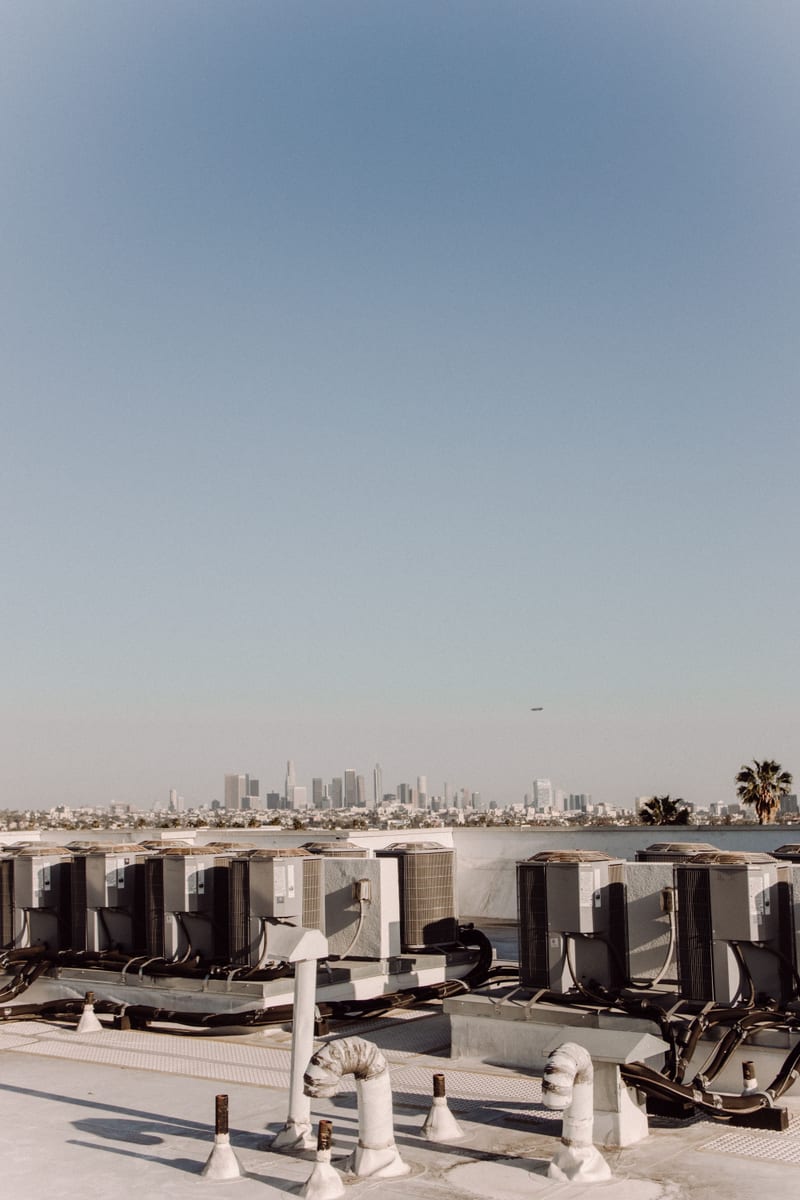
01Map drains, scuppers, seams, curbs, and walls
02Identify the existing membrane before selecting products
03Define preparation, tie-ins, and wet-material limits
Decisions before work starts
A low-slope roof repair should begin with the roof system and the way water moves across it. Drains, scuppers, seams, laps, flashings, curbs, penetrations, surface condition, and prior patch materials all affect the proposal. A dark mark or open seam may be important, but it does not prove the full source or repair limit. This independent guide helps owners document symptoms, ask for compatible materials, and compare proposals that address transitions and drainage. Do not walk the roof for inspection photos. Start with safe ground and interior records, then have a qualified roofing contractor identify the membrane or roof type, assess wet or damaged materials, and define preparation and tie-ins.
01
Determine the existing membrane or built-up assembly as far as practical before choosing repair materials.
02
Review slope, low areas, drains, scuppers, gutters, overflow paths, and debris patterns together.
03
Focus on seams, laps, walls, curbs, edges, penetrations, and earlier patches—not only the open field.
04
State preparation, removal, drying criteria, compatible products, tie-ins, exclusions, and completion records.
Read the whole roof assembly
Use the numbered layers to compare a proposed scope with the conditions found during inspection or opening.
Identify the existing system and confirm material compatibility before selecting a repair or replacement assembly.
Insulation, cover board, vapor control, or other layers depend on the actual design; verify rather than assume them.
Document wet, damaged, or unsuitable areas exposed during work and use a written approval path for changes.
Carry compatible flashing up and through each transition according to the selected manufacturer detail.
Check drains, scuppers, perimeter metal, terminations, and fascia condition where present before closing the roof edge.
From the roofing journal
Map low points, drains, seams, penetrations, and existing products before selecting a patch.
Read this article →A useful first conversation
Use this site's checklist to organize the facts you can safely collect. The roof assembly, concealed condition, and repair limits need a qualified professional's review.
Interior symptom map and dates
Safe overview photos after weather
Print or mark items in your browser. Nothing is submitted.
Go one layer deeper
GUIDE / 01
Give the inspector a clear picture of water movement without sending occupants onto the roof.
Read the guide →GUIDE / 02
Understand why identification and preparation come before product selection.
Read the guide →GUIDE / 03
Check that the price is tied to a specific condition, transition, and repair boundary.
Read the guide →Before you approve
No. It is important drainage evidence, but water entry may also involve seams, flashings, penetrations, edges, or concealed conditions.
No. Product compatibility, surface preparation, moisture, roof type, and manufacturer instructions all affect whether a repair is appropriate.
They control how water leaves the roof. Debris, restricted flow, low areas, and transition details can change exposure across the assembly.
No. Roof access can involve fall, electrical, wet-surface, and hidden-deck hazards. Use qualified personnel and site procedures.
Send the useful views
Start with a wide photo, a close view of the visible condition, the property city, and the repair history. Stay off the roof and keep clear of wet electrical equipment or damaged ceilings.
In the form, choose Inspection under Service needed and describe the roof condition. A request is for review; it does not confirm an appointment or authorize work.
For more than one picture, text your views and description to 619-912-0486. The form accepts one optional attachment.
When site verification is needed, AWC recommends the $250 Site Evaluation + Written Bid Package. The $250 is credited if the proposed work is approved within 30 days. Confirm the evaluation terms before scheduling.
Open the AWC request form in a separate page →
How AWC handles your request